This post was once on 5 different days. I have not condensed it into 1 blog post. I hope you enjoy!
The day is finally here! The Christmas Stocking Sew along is beginning. By the end of this week you will have a completed rag quilt style Christmas Stocking. It is a quick and fun project.
Today is prep day. What you need to do:
- Print the pattern from HERE
- Tape your pattern pieces together (they are the last 3 pages) or if you have a stocking shape you LOVE then make sure you know where it is at so you can use it for the shape.
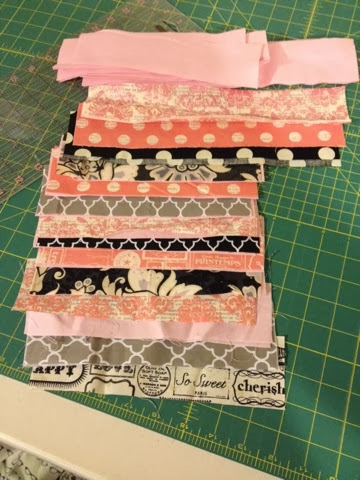
- Gather your fabrics. You will need a total of 3/4 yard of your coordinating fabrics and 1/2 yard of your flannel fabric that matches. These are the colors I am going with:
You are all ready for tomorrows part: Cutting the Fabric out. See you tomorrow!
Today we are cutting out the fabric for our Christmas Stockings.
If you haven't downloaded the free Rag Quilt Christmas Stocking head on over to day 1 and get it downloaded and catch up! So for today, cut out the fabrics that you are using. It is step 1 in the pattern. I have chosen to use +Riley Blake fabric. Most of it is from their fabric line Lost and Found from a couple years ago.
Today we are sewing the Christmas Stocking together.
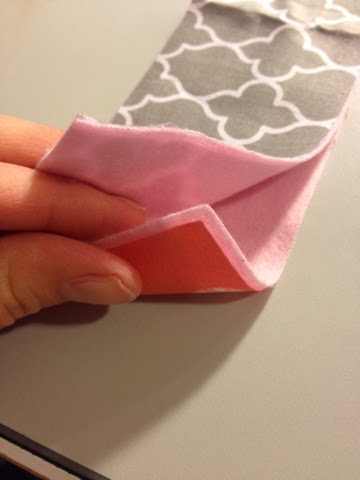
Step 1: sew your strips together. 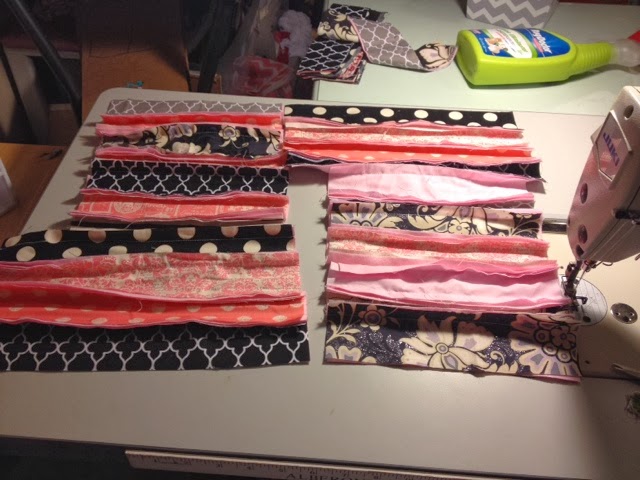

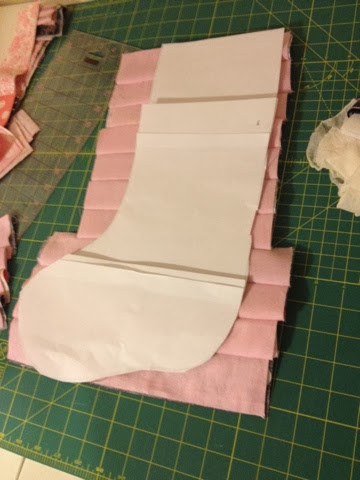
Then cut our your stocking shape. If you want a wider stocking cut your stocking 1 inch wider than the template.
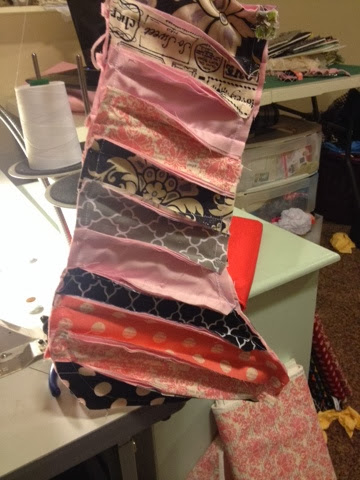
Then sew around your stocking. Make sure to not forget the little hangy-thingy in the top

Its day 4 of our Christmas Stocking Sew-Along.
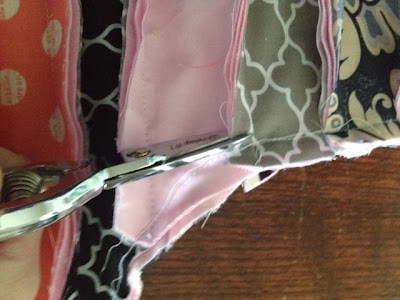
Today we are clipping all the seams of our Christmas Stockings. I like to use short blade scissors. +Fiskars has a couple different pairs that work well, but my favorite are Heritage Brand Scissors. I blogged about them HERE if you are interested
Tomorrow we are going to wash up our Christmas Stocking and be finished. Easy Peasy wasn't it?!?
Now that we have done everything with our rag quilt Christmas Stocking, except for washing it. Here are a few tips:
1. I have 2 washers in my house. One for rag quilts, and 1 for my families clothing. This small of rag quilt piece will not hurt your washer or dryer. If you do a large rag quilt I would stop by your local laundry mat and wash it there. It will save your machine. One blanket probably won't ruin your machine, but a few might.
PS I have sent more than 100 blankets ranging from all different sizes through my washing machine in the last year. It still is working like a charm.
2. Shake off your ragged item before throwing it into the wash to get off as many of the little threads as you can. If you want to take a butter knife or something similar you rub the serrated edge along the seams and it pull off a bunch of the little threads. A lint roller will also help to clean up those little threads...
3. Wash it like you would normal clothing. I do cold wash with like colors.
4. Shake it off again when you remove it from the washer.
5. Throw it into the dryer. I like to make sure there is at least 1 DRY towel in there with the ragged item. This helps it to dry faster, and it helps take off some of the extra little fuzzies. I have also heard of people using a tennis ball in the dryer too. It supposedly helps to knock off the threads. I haven't tried it so I don't know for sure how it works.
6. Check your dryer lint thing SEVERAL times during drying. That thing will fill up quickly.
7. When its all dry, I like to use a lint roller to clean it up.
8. There will still be a few little strings after the first washing, but if you wash it again, you won't have a problem with those.
9. Just remember that the more times you wash a ragged item, the better it will look because it frays those edges more and more each time. Making them fluffier and fluffier.
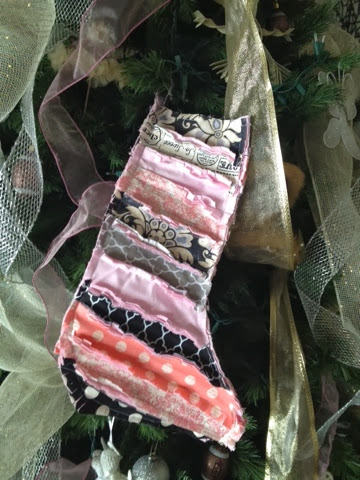
Here is my first Christmas Stocking.
Thanks so much for joining along with the Christmas Stocking Sew Along! I can't wait to see the stockings you all have made using the pattern!





.png)